Difference between revisions of "Products/Warranty"
From Shopnix Help
(→How-To: Use the Warranty Module?) |
(→How-To: Use the Warranty Module?) |
||
| Line 47: | Line 47: | ||
</li> | </li> | ||
</ul> | </ul> | ||
| + | <br> | ||
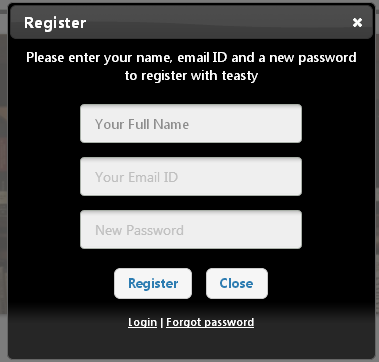
[[File:register.png]] | [[File:register.png]] | ||
Revision as of 15:53, 27 May 2025
What is Warranty?
The Warranty Module allows store administrators to create and manage product warranties directly within their Shopnix store. This feature enables you to offer different warranty plans for products, track warranty claims, and automate warranty expiration notifications.
- This module enables store owners to allow their customers to:
- Register their products online for warranty activation.
- Upload proof of purchase (invoice).
- Enter warranty card details, purchase location, and other validation fields.
- Submit warranty claims digitally through their store account.
- Access extended benefits, such as discounts on spare parts and priority service.
- Customers benefit from:
- Verified record of ownership.
- Quick and paperless warranty claim submission.
- Access to discounted spare parts and improved service response.
- The warranty form captures essential details like:
- Product type and name
- Warranty card number
- Purchase date and location
- Invoice file upload (jpg/pdf/png formats, max 5MB)
How-To: Use the Warranty Module?
Using the Warranty Module in Shopnix is a simple yet powerful way to improve your store’s transparency and boost customer satisfaction. Here is a step-by-step breakdown of how to configure and use the module effectively across all relevant pages.
1. How Customers Register for Warranty
- From the customer side:
- Customer logs in or signs up via Login / Sign Up page
- Navigates to Register Product page
- Selects Product Type and enters Product Name
- Enters Warranty Card Number
- Selects Date and Place of Purchase
- Enters Warranty Card Number
- Uploads Invoice File (.jpg / .png / .pdf)
- Clicks Register Product
2. Claiming Warranty
- Once registered, customers can:
- Go to My Account → Warranty Claims
- Choose a registered product
- Describe the issue
- Attach any supporting photos or documents
- Submit the claim for review
- View all submitted claims
- Approve, reject, or request more info
- Track warranty period and customer history
The merchant/admin receives the claim in the Warranty Claims Dashboard, where they can:
If you have more queries or would like assistance with this, please contact us on support@shopnix.in.


