Difference between revisions of "Setup/New On-boarding Wizard"
From Shopnix Help
(→Where will I get On-boarding Wizard?) |
(→Where will I get On-boarding Wizard?) |
||
| Line 99: | Line 99: | ||
| − | You | + | You will be moved to the Shopnix Admin Panel>Dashboard |
| − | |||
| − | |||
| − | |||
<div class="wiki-img"> | <div class="wiki-img"> | ||
| Line 109: | Line 106: | ||
| − | You can | + | Then You can click on the "View Store" in the right corner of your screen to navigate to your newly created store. |
| − | + | Your newly created store would look like the image displayed below. | |
| − | |||
Latest revision as of 09:40, 4 January 2024
What is On-boarding Wizard?
With Shopnix's on-boarding wizard, you can set up your online store even before officially signing up. It lets you customise and configure your store in advance, making the on-boarding process more convenient.
Where will I get On-boarding Wizard?
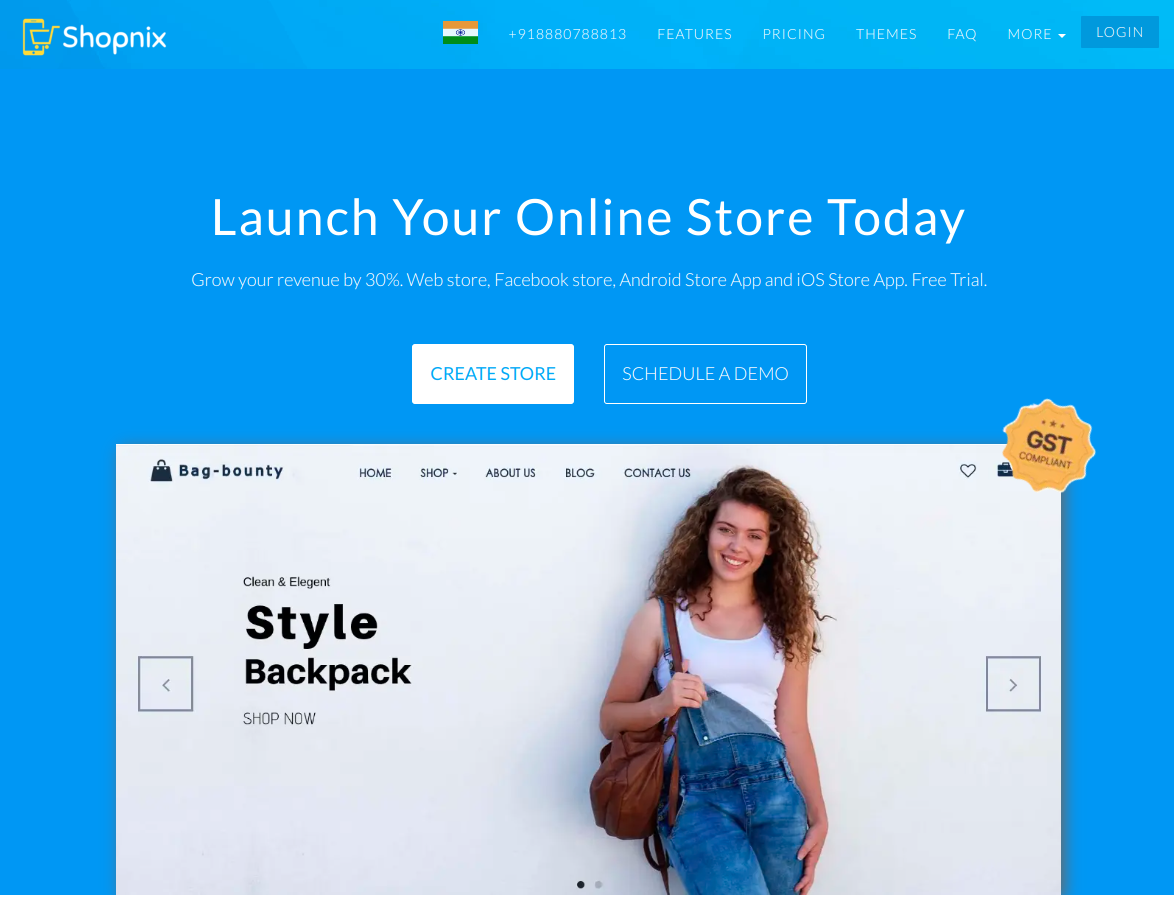
Go to shopnix.io > CREATE STORE
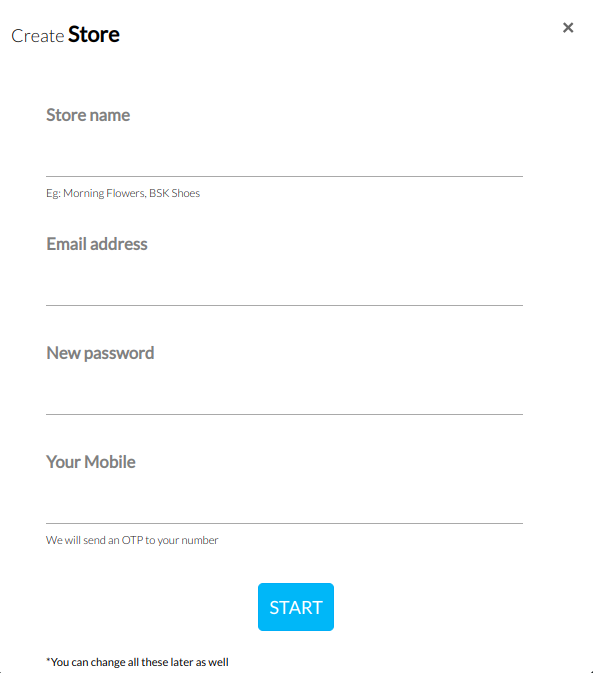
Click on "Create Store" and a Pop-up Window will be displayed as shown in the below image.
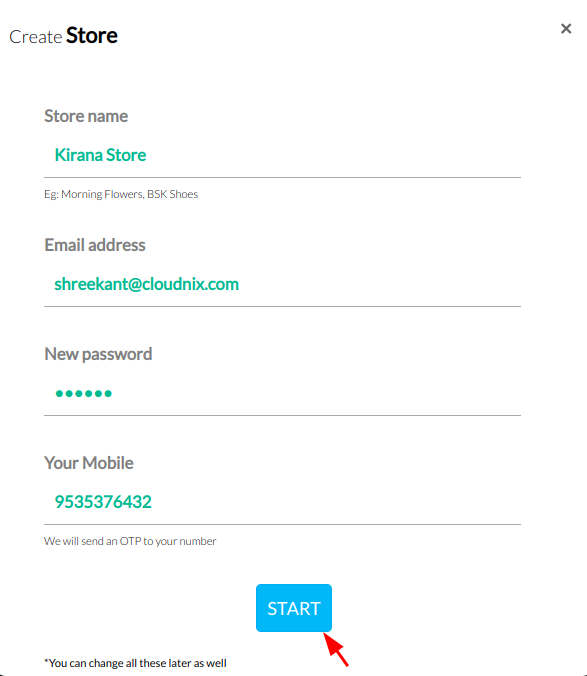
Then, add details for your store Store Name, E-mail Address, Password and Your Mobile and Click on "Start"
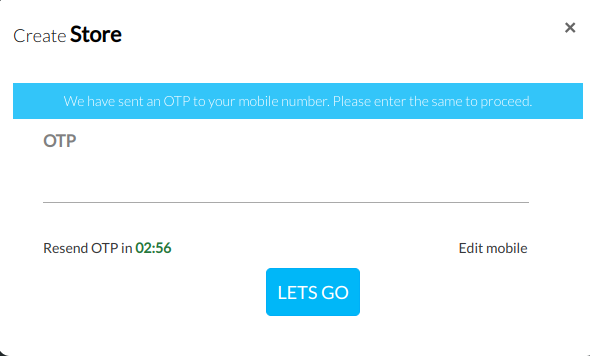
An OTP will be sent to your mobile number, you can enter the OTP and your store creation process will be initiated.
As soon as you enter your OTP and Click on "Lets Go" button
Need to wait for some moments, as it starts processing your information into your new store.
After some moments, you will be moved to a new Window, where you can start customising your store.
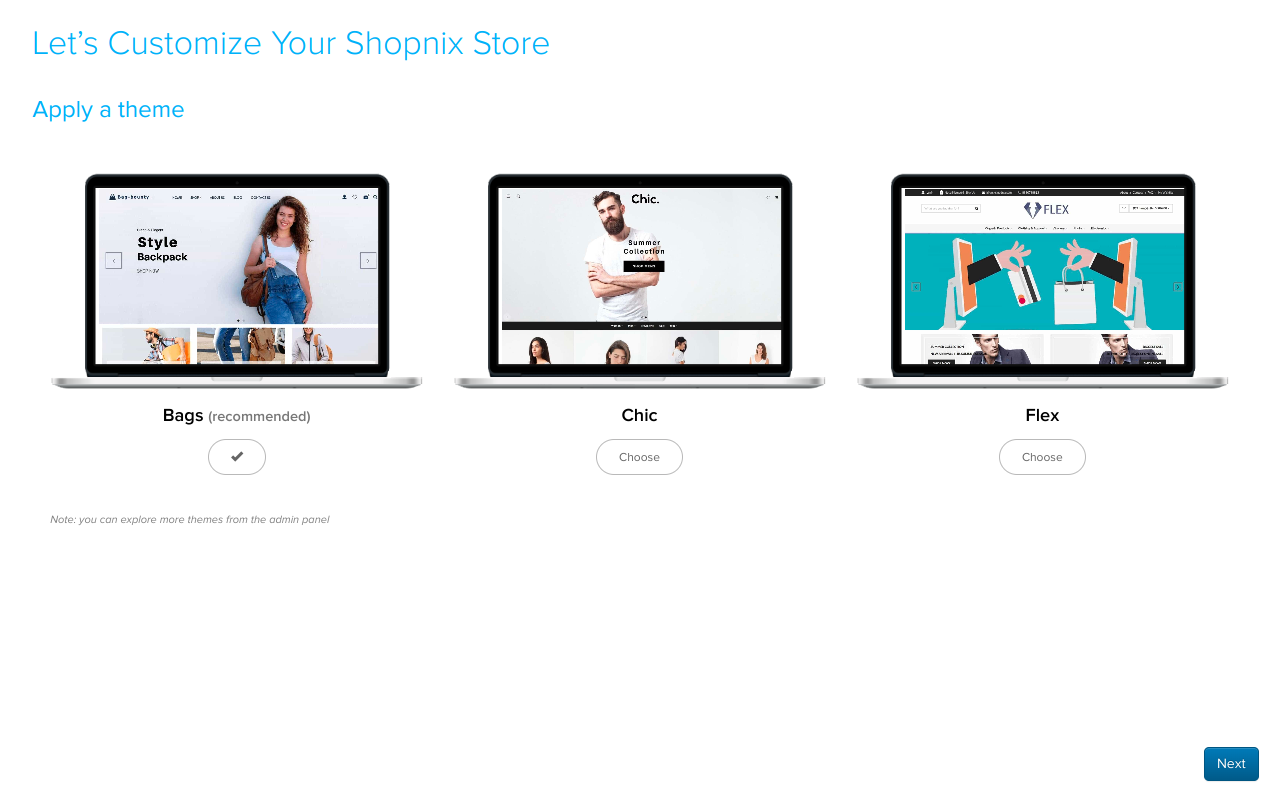
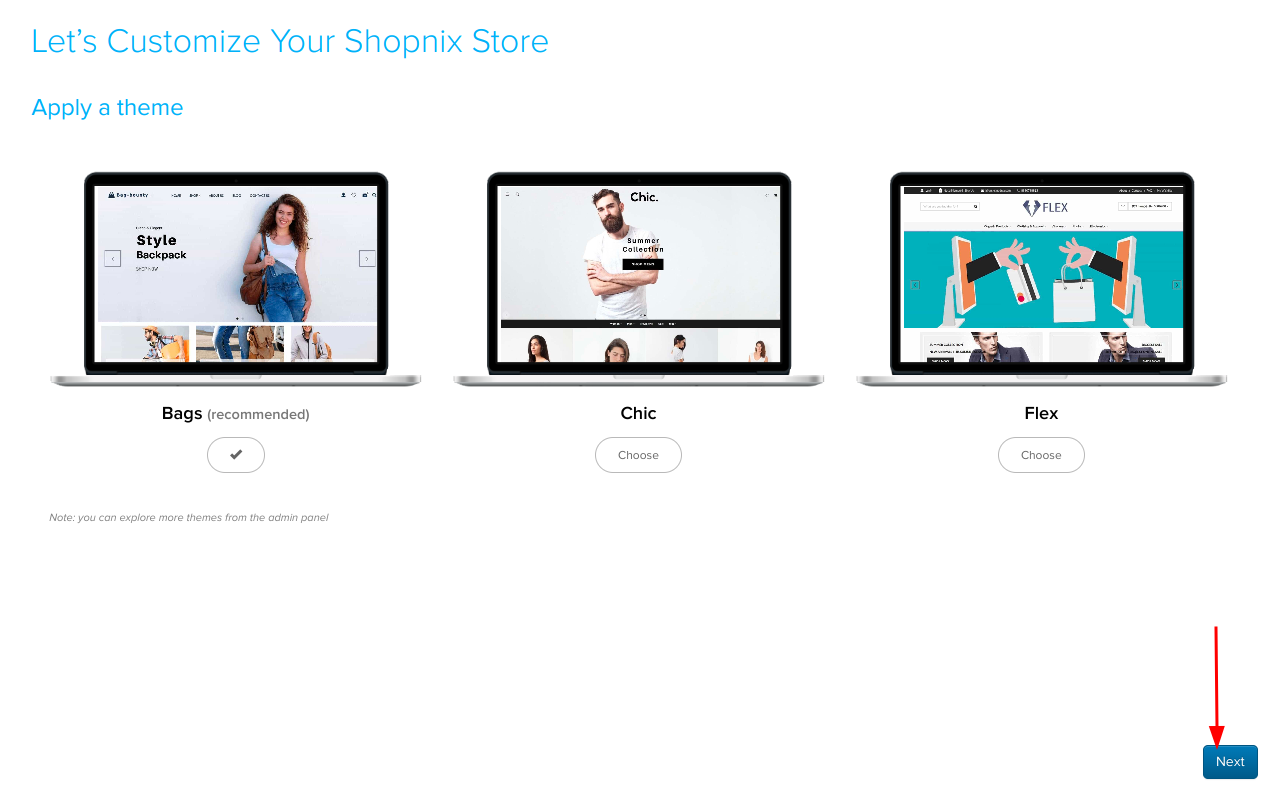
You will see multiple Pre-Built themes, (Different Themes will have a different UI of your online store)
You can pick any one theme from the listed themes, by default one theme will be selected. And then click on "Next"
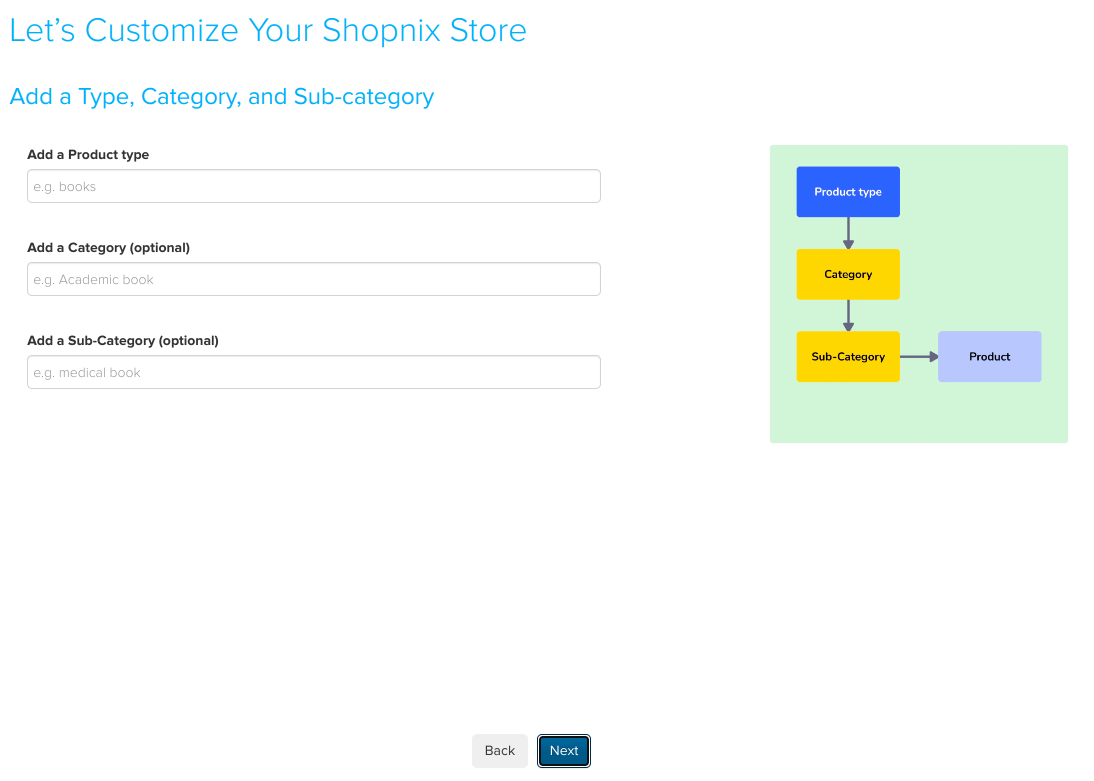
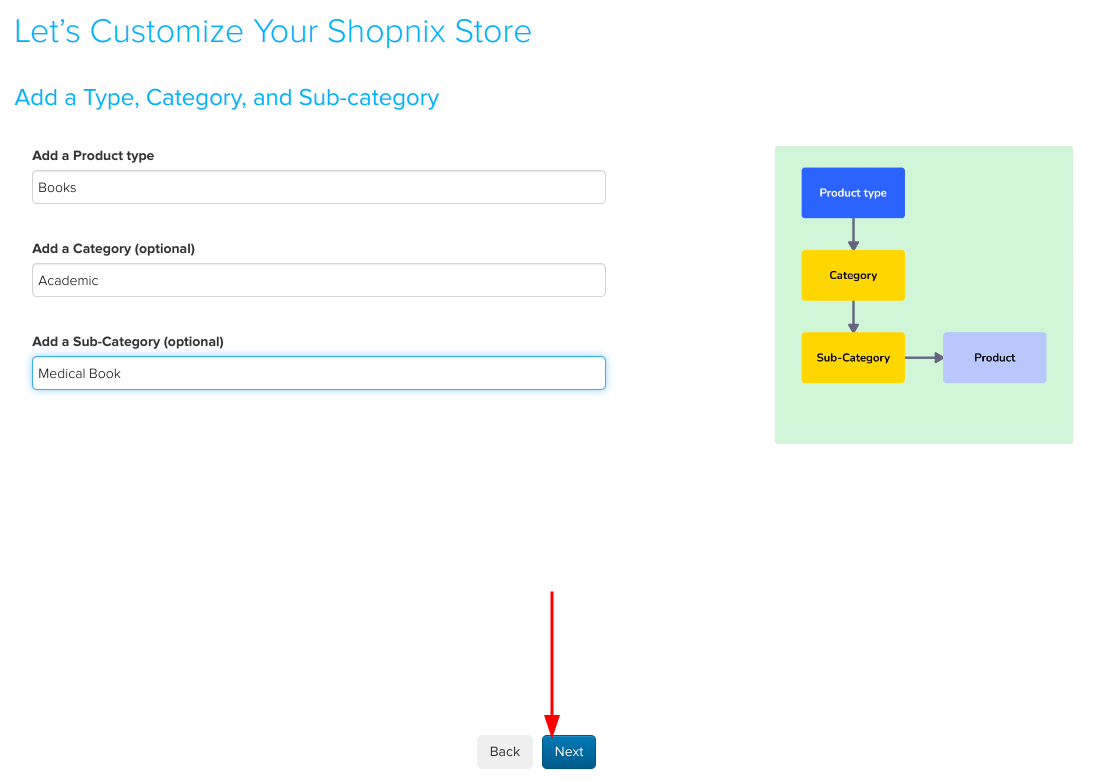
Later you can customise your store by categorising your products into different Type, Category and Sub-category.
Add your input in the fields of Type, Category and Sub-category and click on "Next" button, as shown in the below image.
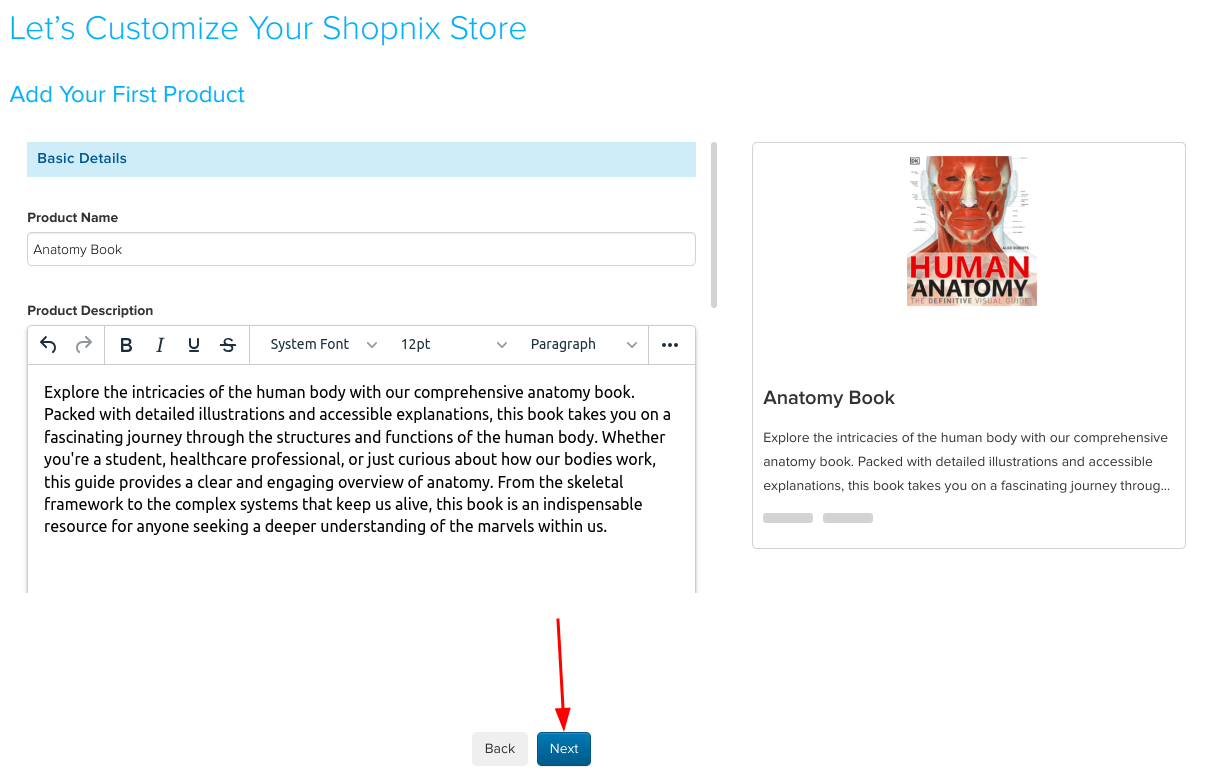
Later you can add details of one product like, Product name, Product Description, Product image. Product Pricing, SKU number, HSN number, Etc. as shown in the below image.
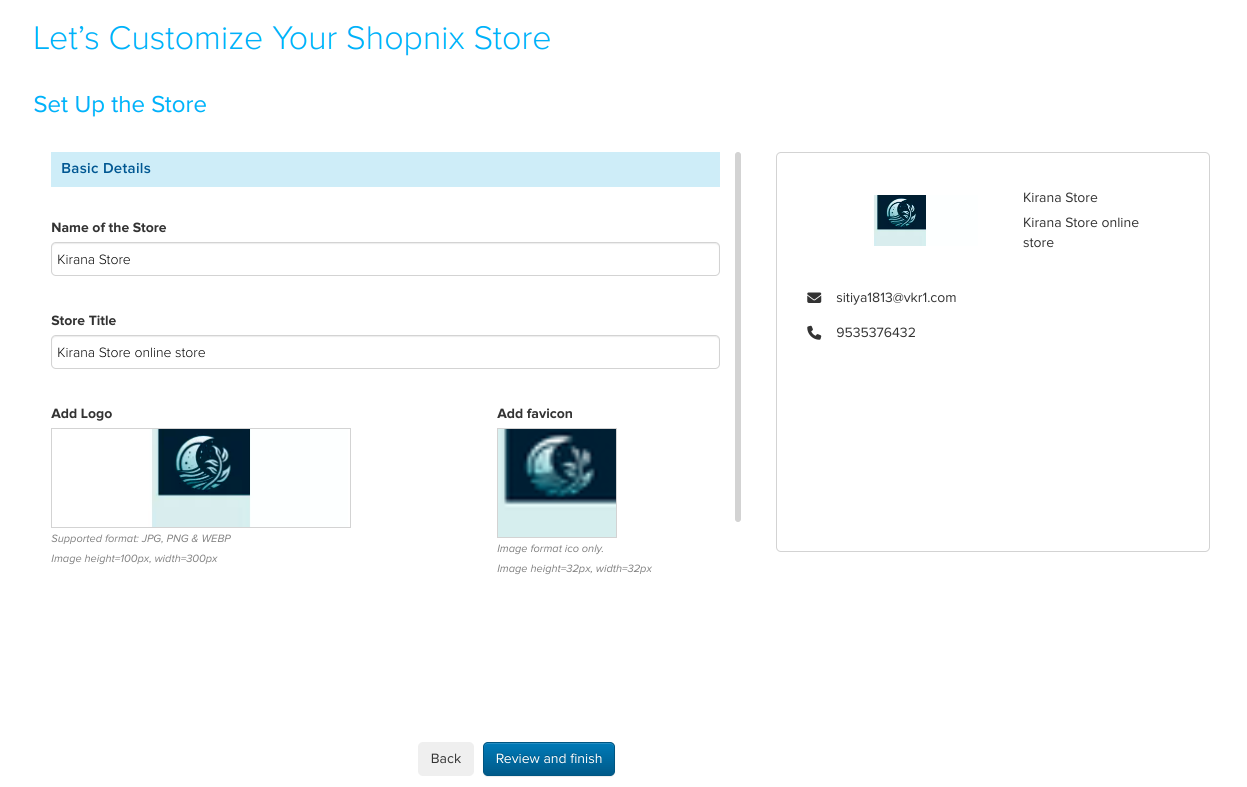
Later you can customise your online store, by customising the basic store details like Name of the store, Store Title and You can Add Store Logo (Supported format: JPG, PNG & WEBP
Image height=100px, width=300px) and You can Add Favicon for your store ( Supported format ico only.
Image height=32px, width=32px) as shown in the below image.
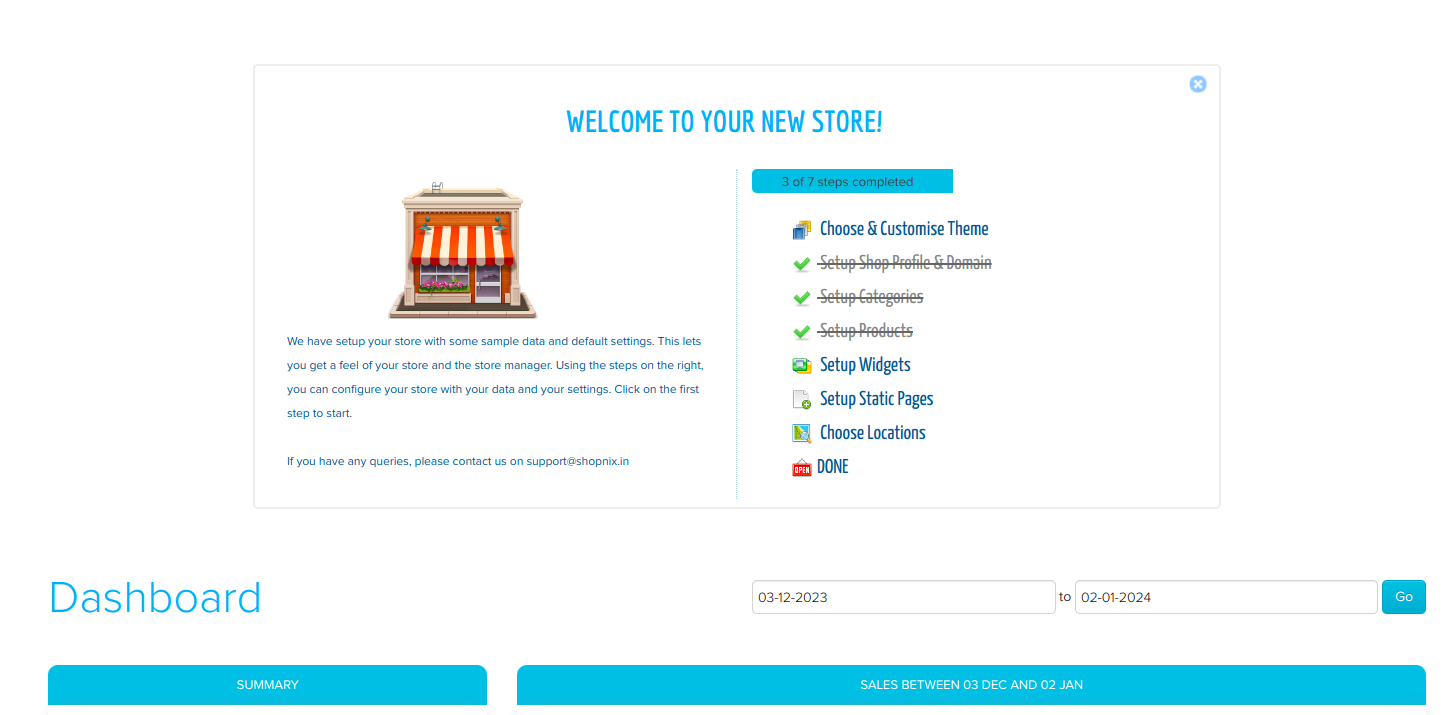
You will be moved to the Shopnix Admin Panel>Dashboard
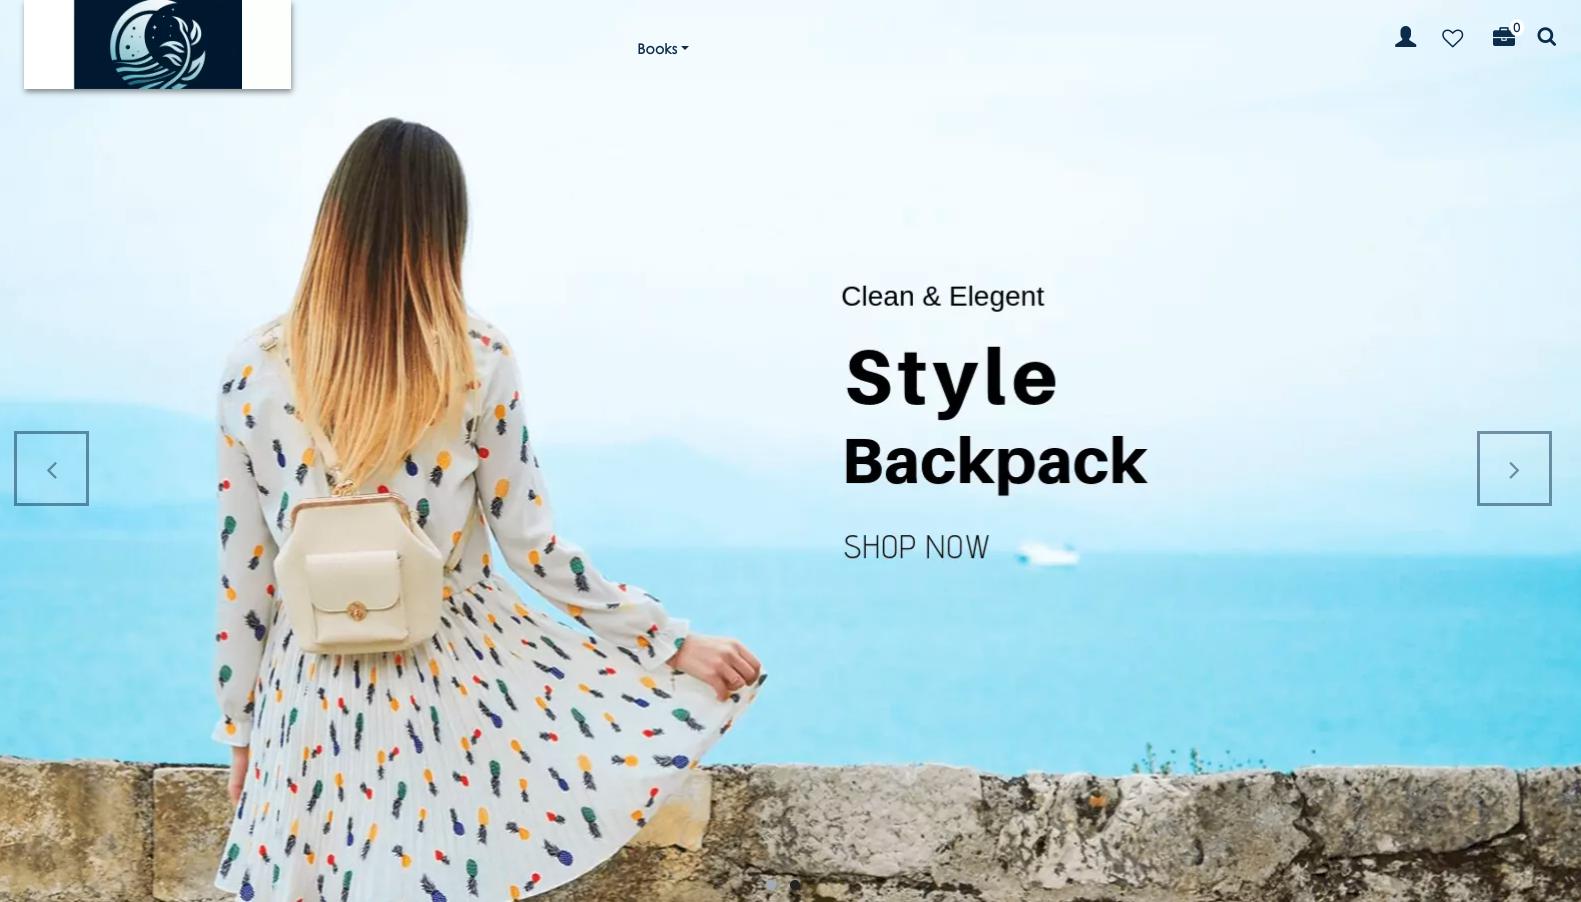
Then You can click on the "View Store" in the right corner of your screen to navigate to your newly created store.
Your newly created store would look like the image displayed below.
If you have more queries or would like assistance with this please contact us on support@shopnix.in.

