Difference between revisions of "Multiple Product Images"
From Shopnix Help
(→How do I upload multiple product images) |
(→How do I upload multiple product images) |
||
| Line 24: | Line 24: | ||
4. After uploading you can edit that particular image.Click on the [[Image:edit1.png ]] option and it will show you an editor like below | 4. After uploading you can edit that particular image.Click on the [[Image:edit1.png ]] option and it will show you an editor like below | ||
| − | [[Image:image-editor.png |frameless | | + | [[Image:image-editor.png |frameless |1200px]] |
Revision as of 14:52, 5 July 2014
Multiple Product Images
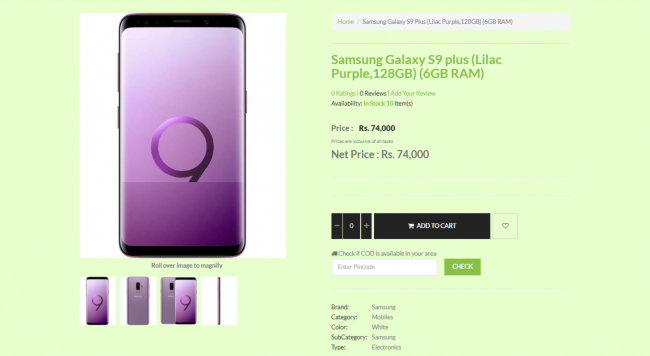
Multiple Product Images feature provides a detailed panorama of a product where You can set more than one image for a product with different angles and colors so that the customer can know more details about the product.
What can I use Multiple Product Images for ?
You need to display multiple images of a product with different angles so that customer will able to know more about the product. An image with different colors, different angles like front view, back view, side view and even detailed shots of specific features can all go a long way toward making a customer more likely to buy from your store.
How do I upload multiple product images
To upload multiple product images, follow the below steps
1. Logon to your Shopnix Store Manager
2. Go to Products > Add New Product.
Add the details as per the requirement
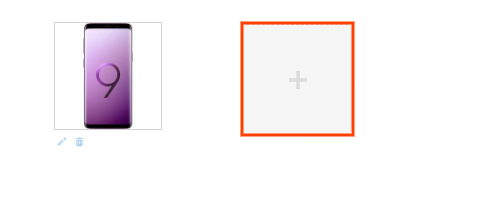
3. When you will reach the image portion, upload an image. After uploading an image you will find an another option to upload the images like below
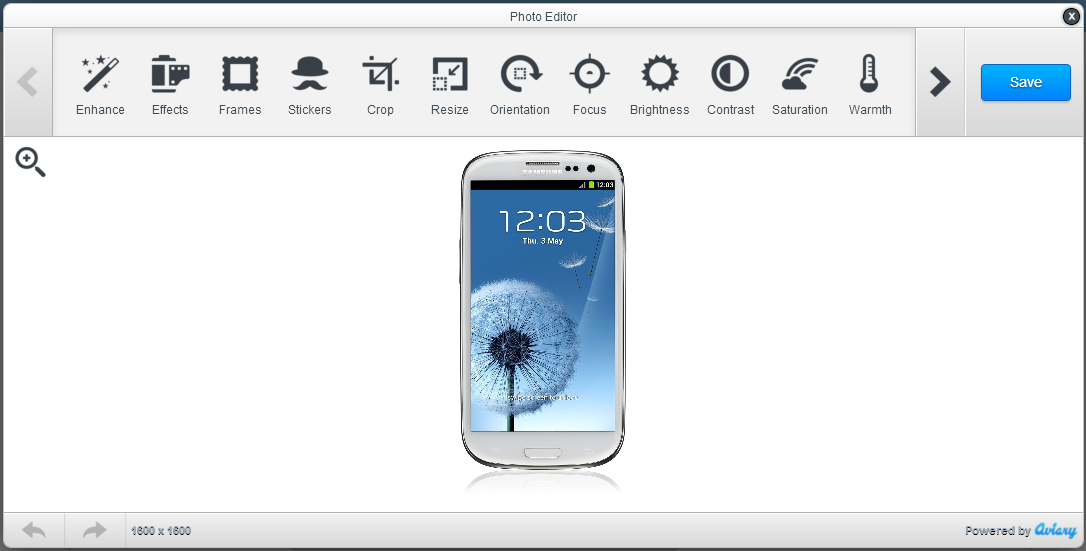
4. After uploading you can edit that particular image.Click on the ![]() option and it will show you an editor like below
option and it will show you an editor like below
If you have more queries or would like assistance with this please contact us on support@shopnix.in.


