Difference between revisions of "Setup/Areas-Add"
From Shopnix Help
(→How to add Areas ?) |
|||
| Line 8: | Line 8: | ||
[[Image:locationclick.png]] | [[Image:locationclick.png]] | ||
| − | '''Note-'''For adding the Areas first you need to [ | + | '''Note-'''For adding the Areas first you need to [[Setup/States-Add | Add States]], [[Setup/Cities-Add | Add Cities]] . |
Then click on the city after the state name as shown in below image- | Then click on the city after the state name as shown in below image- | ||
Revision as of 18:54, 23 July 2014
How to add Areas ?
If you want to add places in the city, then you need to follow below-
Go to Admin >Setup >Locations as shown in below image-
Note-For adding the Areas first you need to Add States, Add Cities .
Then click on the city after the state name as shown in below image-
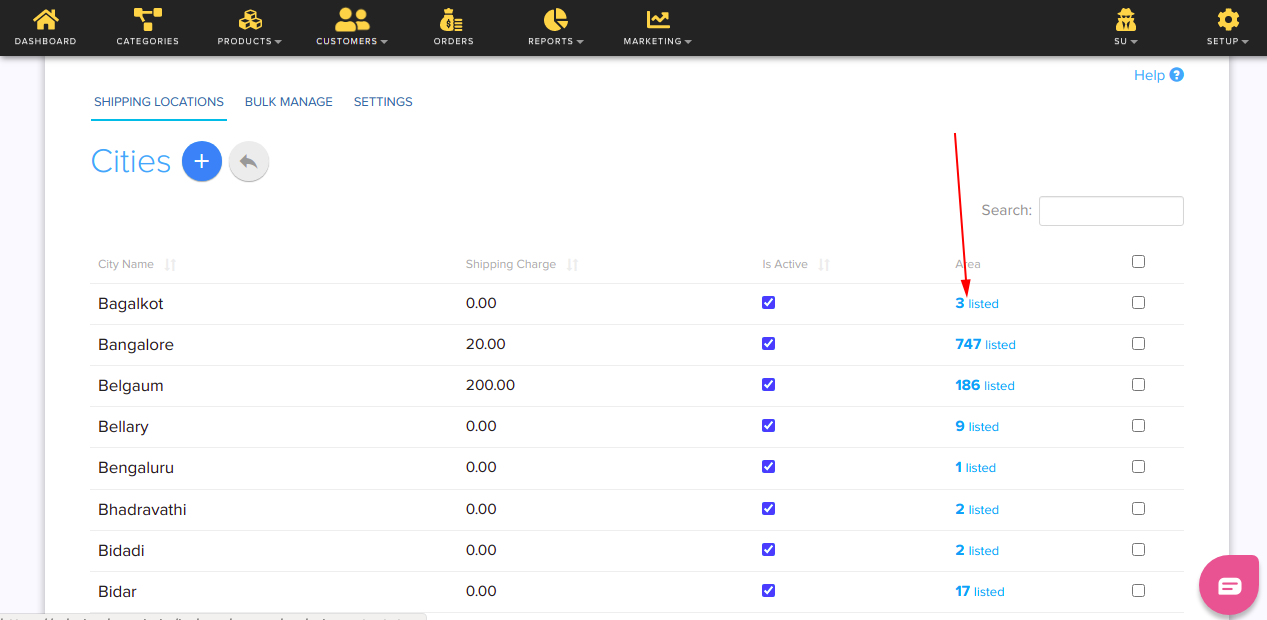
Then click on Area showing after the city name as shown in below image
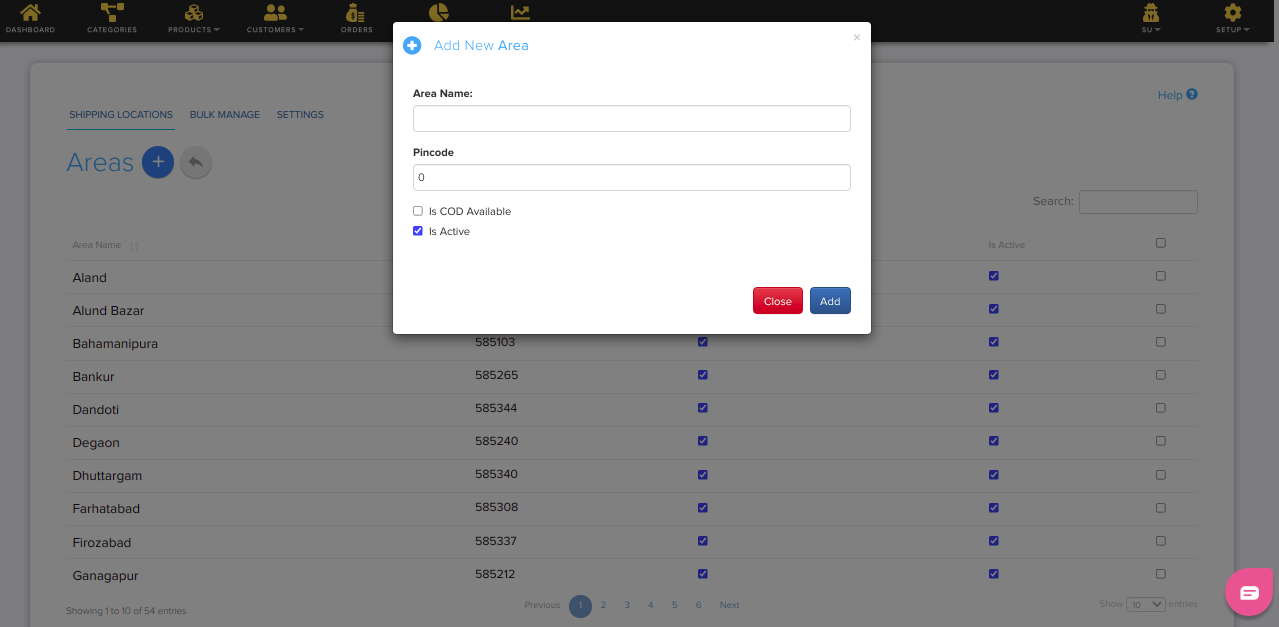
Then you will be redirected to Area page where you need to fill the Area name , Pincode and click on add button as shown in below image-
If you have more queries or would like assistance with this, please contact us on support@shopnix.in .


