Settings
From Shopnix Help
Contents
What is Shop Profile?
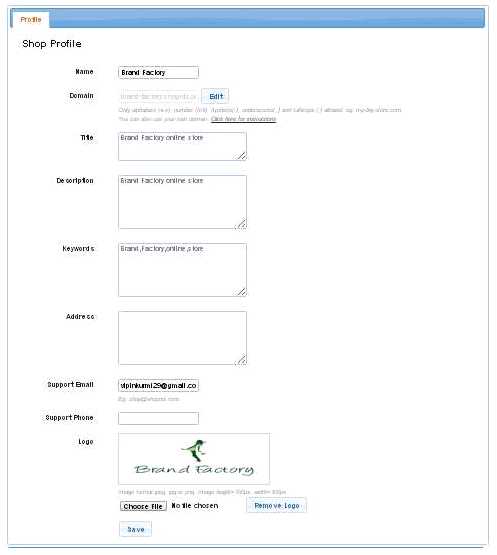
Shop profile is the profile where all the details of the shop is available.
Where I will get Shop Profile feature?
Go to store manager > SETUP > SHOP PROFILE
As shown in above figure you can edit the Name, Title,Description,Keywords,Address,Support mail, Support phone, Logo of your shop after editing click on the ![]() button to make changes.
button to make changes.
Note 1:In order to change the Domain first click on the ![]() then edit the domain name inside the box as per your requirement ,Like
then edit the domain name inside the box as per your requirement ,Like
Before editing
During Editing
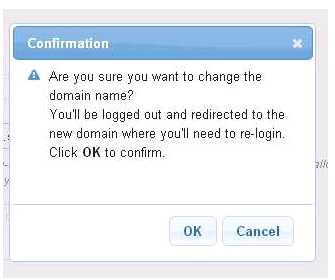
After write the new domain click on the button, and a pop will emerge like
Click on the ![]() button and it will redirect you to new domain for which you have to login once again.
button and it will redirect you to new domain for which you have to login once again.
Note 2: The image for the logo should have the height 100px and width 300px and the format must be in jpeg, jpg, png.
What is Shop Setting?
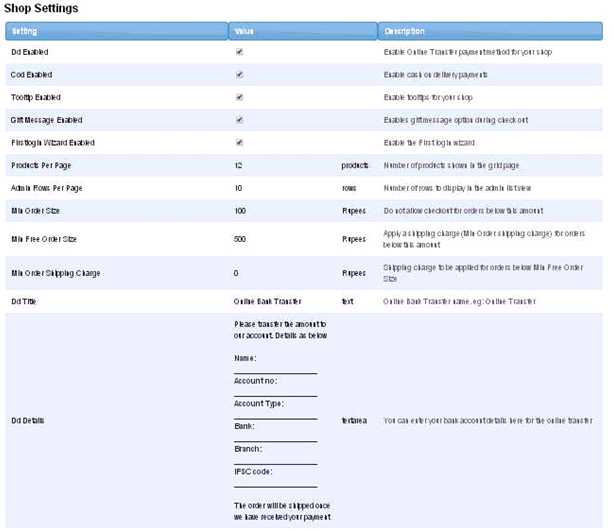
Shop Setting feature lets you enable / disable some features of you shop as per your requirement as well as its lets you edit some feature like your bank account details.
Where I will get Shop Setting feature?
Go to store Manager > SETUP > SETTINGS
For example if you want to add a minimum order shipping charge (shipping charges to be applied for orders below Min Free Order Size). So go to the row where “Min Order Shipping Charge” is mentioned and click on the value i.e. (0 here).
Then enter the value as you want suppose 70 and press ENTER key.
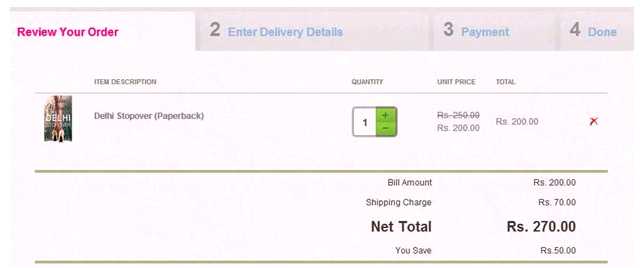
This Min Order Shipping Charge’s value will be display on Store’s page while checkout.
What is Users?
The users section allows you to add or updates user’s details. Generally users section is useful when you (admin) wants give access to other user(s) to maintain the store. For example: Suppose you are the owner of the store i.e. Admin and you want to give the privilege to another one to maintain the store behalf of you. So you can do those things here the important thing is that you can give certain or full control to the new one as per your requirement.
Where I can access the Users feature?
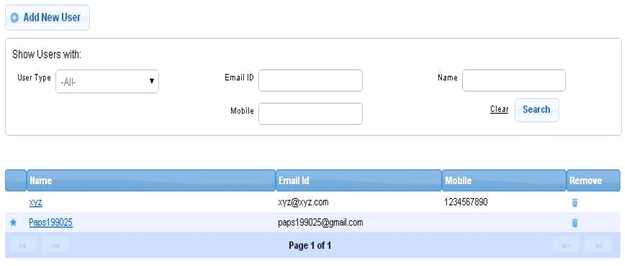
Go to store manager > SETUP > USERS
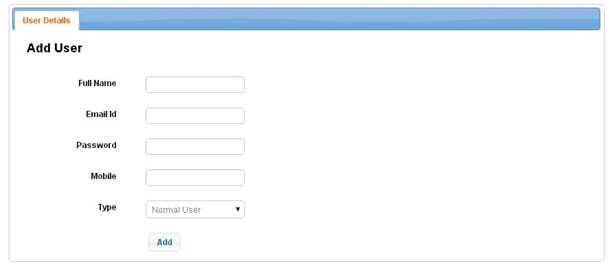
In order to add a new User click on the ![]() button.
button.
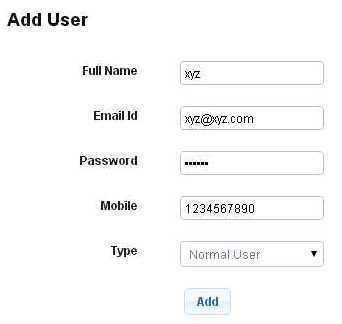
Suppose Full Name is: xyz, Email ID: xyz@xyz.com,Mention the password, Mobile: 1234567890, Type: Normal User and click on the ![]() button.
button.
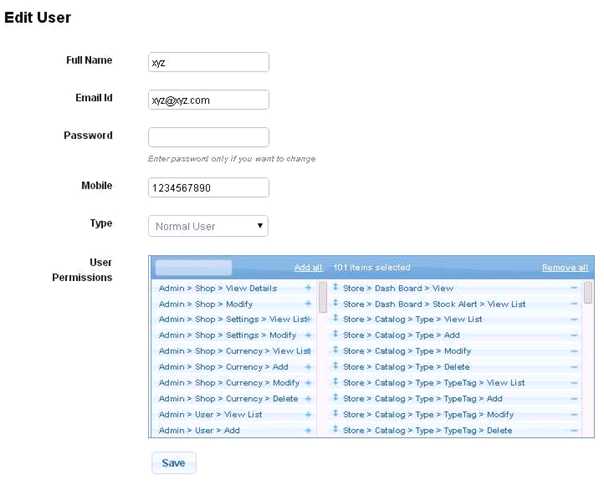
Click on the xyz under Name
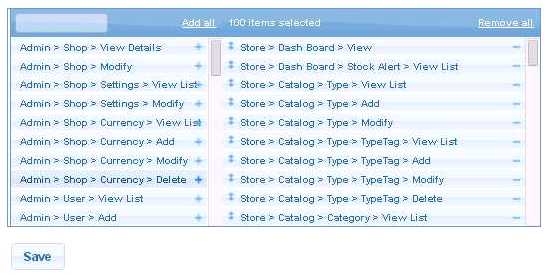
Here as you see User Permissions, in this section you can give privilege to the respective user(s).
You can remove the permissions from the right side of the table by simply clicking on the ![]() button.
For example if you want to remove the permission Store>Catalog>Type>Delete then simply click on the
button.
For example if you want to remove the permission Store>Catalog>Type>Delete then simply click on the ![]() and
and
In the additional details tab  you can Tag name and Tag value of the user like Age: 20

