Products/Warranty
From Shopnix Help
What is Warranty?
The Warranty Module allows store administrators to create and manage product warranties directly within their Shopnix store. This feature enables you to offer different warranty plans for products, track warranty claims, and automate warranty expiration notifications.
Where can I access the Warranty feature?
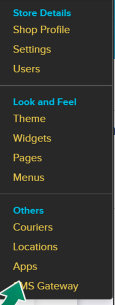
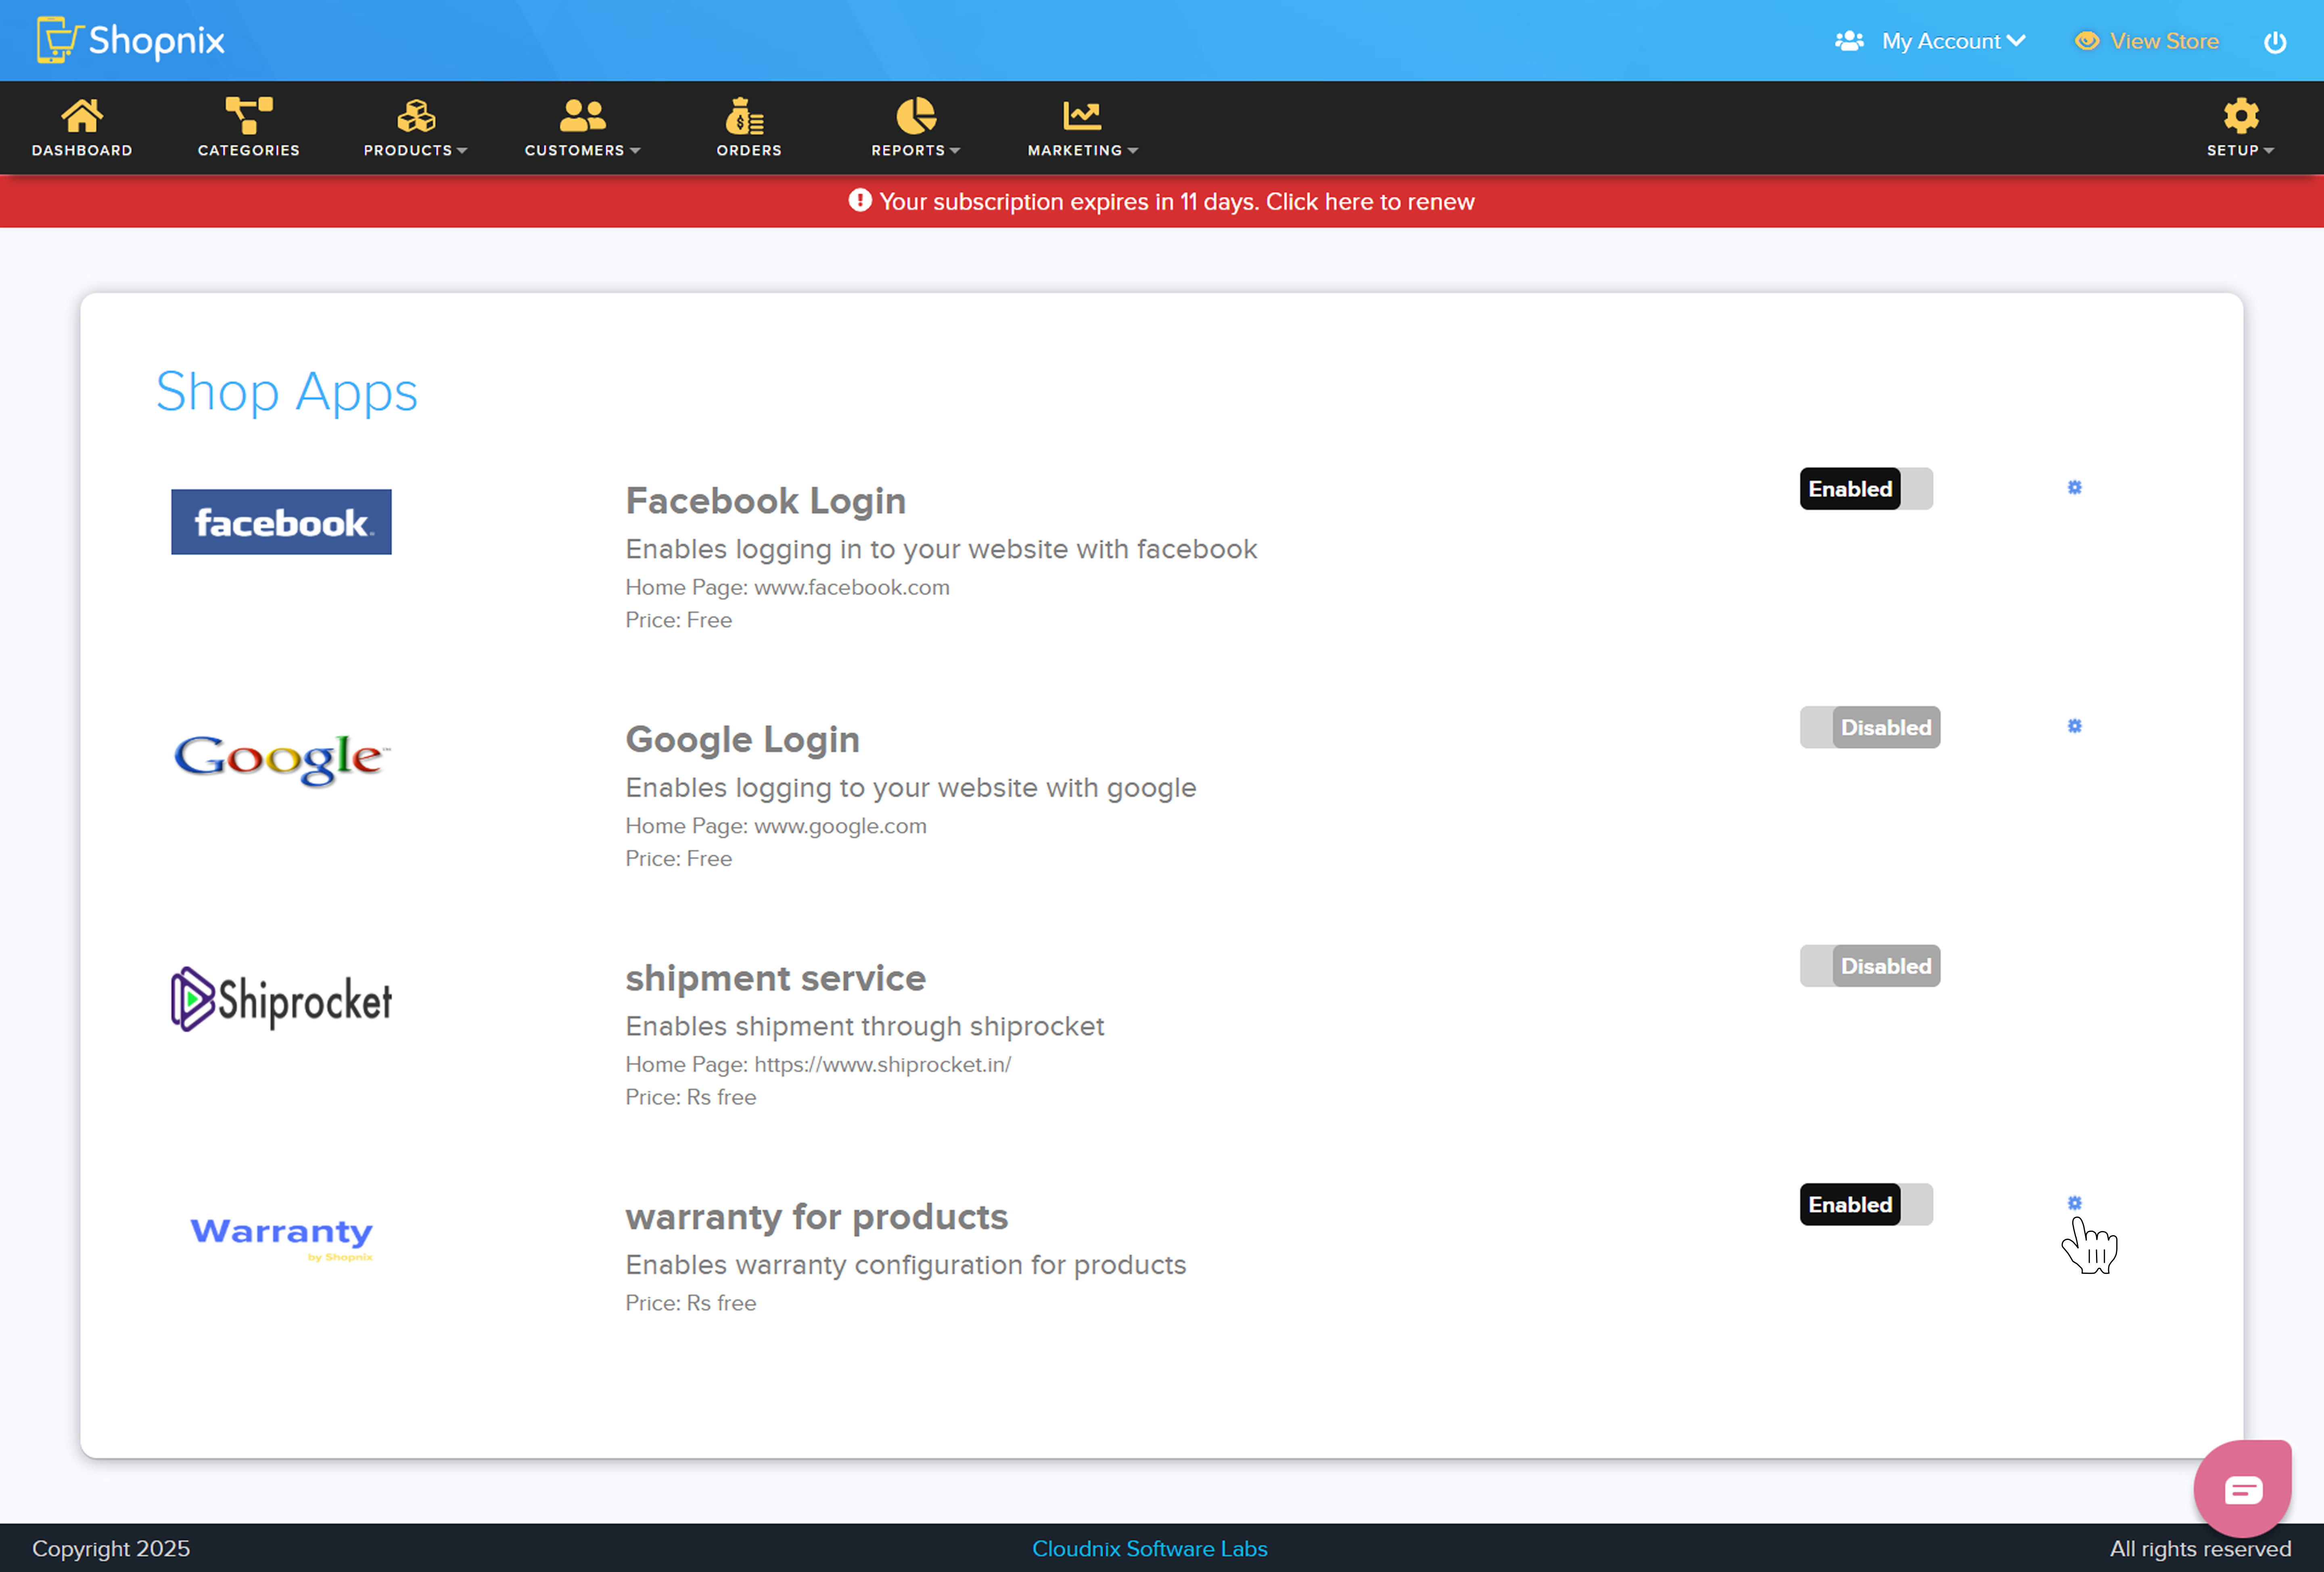
Go to store manager > SETUP > Apps

after clicking you will be redirected to

Locate the app titled Warranty for products
Click the toggle to set it as Enabled and click on the ⚙️
Here, you will see two main tabs:
Warranty Types: Define the different warranty policies
Registrations: View customer warranty submissions
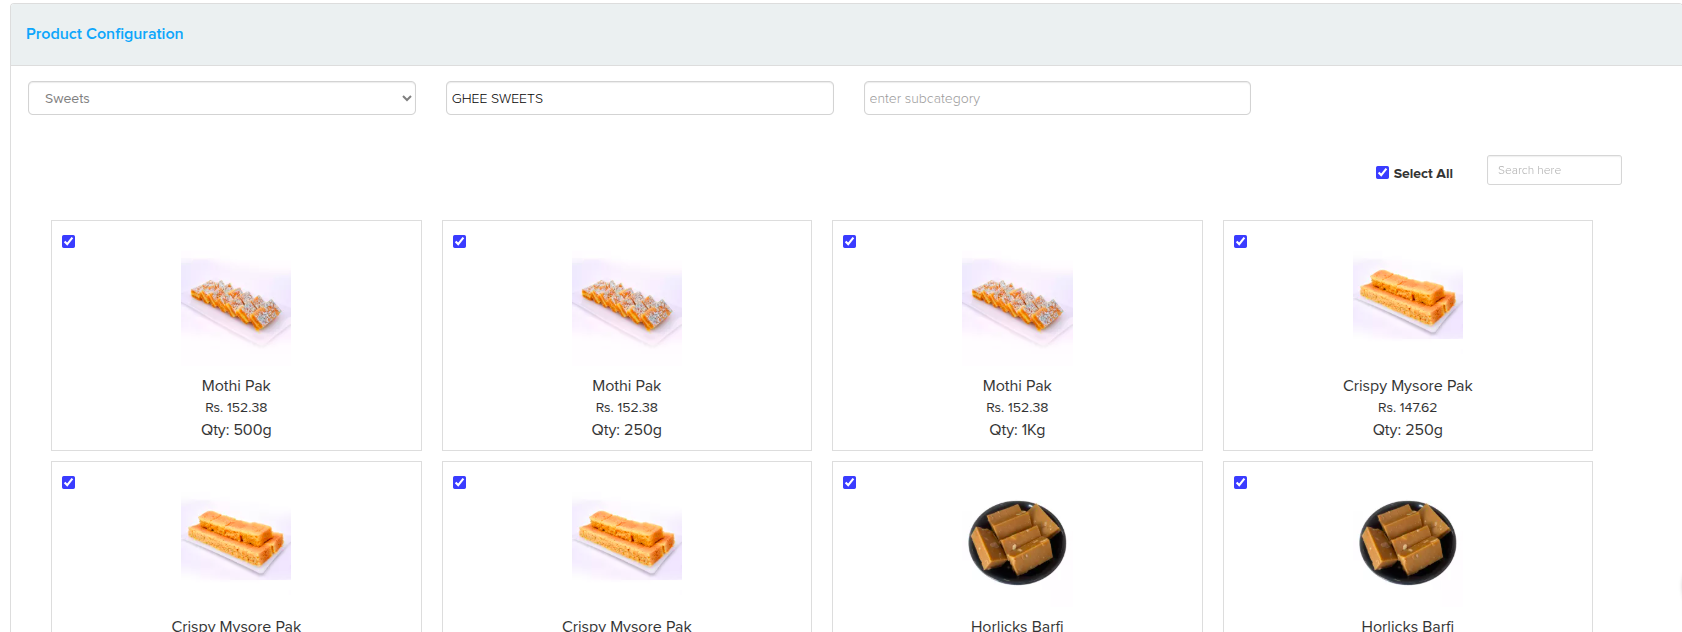
Click  to create a new warranty type
Fill in the following details:


How-To: Use the Warranty Module?
Using the Warranty Module in Shopnix is a simple yet powerful way to improve your store’s transparency and boost customer satisfaction. Here is a step-by-step breakdown of how to configure and use the module effectively across all relevant pages.
1. How Customers Register for Warranty
- From the customer side:
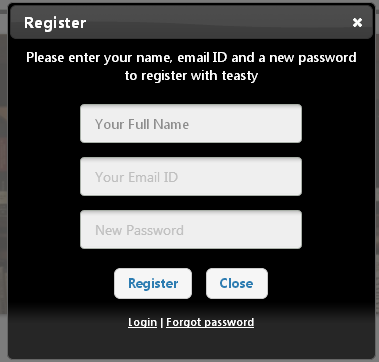
- Customer logs in or signs up via Login / Sign Up page
- Navigates to Register Product page
- Selects Product Type and enters Product Name
- Enters Warranty Card Number
- Selects Date and Place of Purchase
- Enters Warranty Card Number
- Uploads Invoice File (.jpg / .png / .pdf)
- Clicks Register Product
If you have more queries or would like assistance with this, please contact us on support@shopnix.in.


